1.8 KiB
1.8 KiB
Building the Hardware to Run UPIWIN
UPIWIN is designed for a hardware configuration with a miniature capacitive-touch touchscreen mounted on a Raspberry Pi computer, making for a compact assembly. This document describes how to assemble one.
Parts List
- Raspberry Pi 3 Model B+ computer
- PiTFT Plus 320x240 2.8" Capacitive Touch Touchscreen (Adafruit part number 2423)
- Pi Model B+/Pi 2 Case Base - Clear (Adafruit part number 2253)
- PiTFT Faceplate and Buttons (Adafruit part number 2807)
- 2x Brass M2.5 Standoffs (Adafruit part number 2337)
- Additional Raspberry Pi hardware (MicroSD card, power supply, keyboard and display connections)
Assembly Instructions
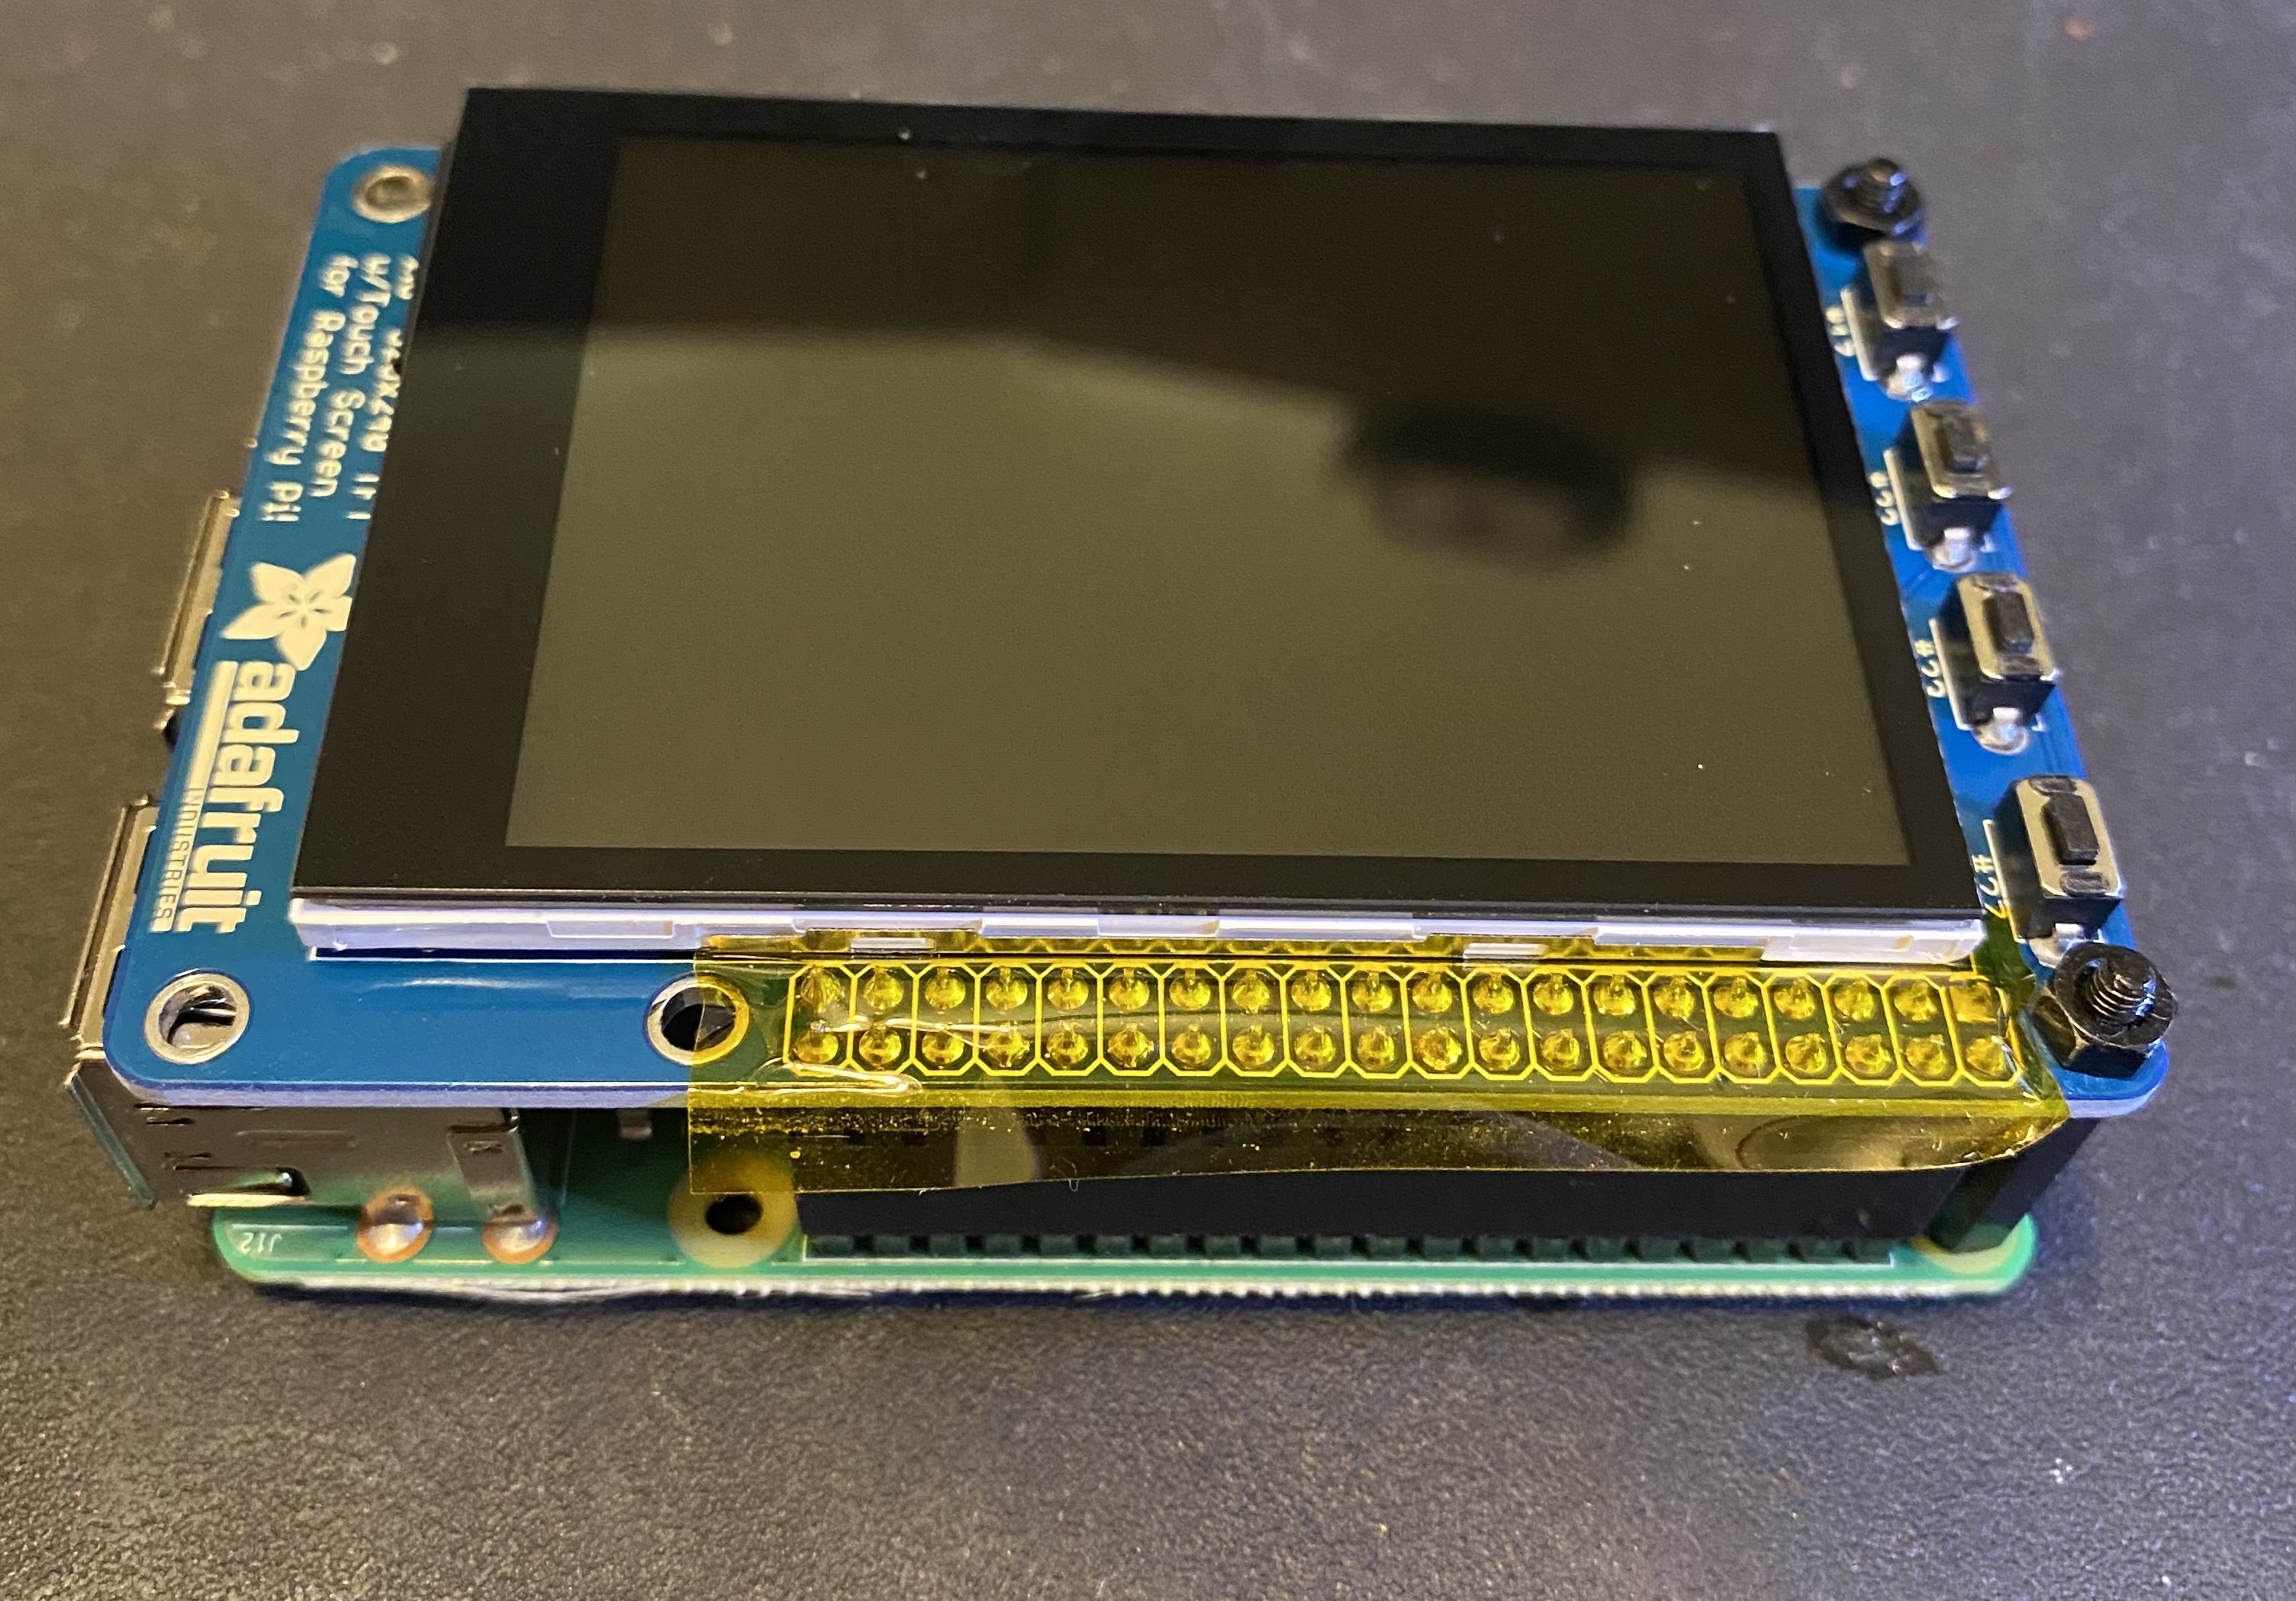
- On the back of the PiTFT, solder closed the jumper pads labeled "#18". This will allow the use of GPIO line 18 as a PWM backlight control.
- Attach two standoffs to the underside of the PiTFT (pointing in the same direction as the 40-pin connector), on the right side (the side with the pushbutton switches). Secure with the included nuts.
- Attach the PiTFT to the Raspberry Pi, pressing down hard to seat the 40-pin connector atop the Pi's GPIO pins.
- Seat the completed assembly inside the case base, lining up the holes for the USB and Ethernet ports on the left side. Press down to snap the latches into place.
- Holding the faceplate upside down, insert four plastic buttons into the four small rectangular slots. Invert the case assembly and snap it together with the faceplate, lining the buttons up with the pushbutton switches.
- Connect the Pi to keyboard, display, power, and network (if necessary). Insert the MicroSD card with the operating system installed, and boot as usual.
Illustrations
Completed subassembly
Completed Assembly
